Showing posts with label pie. Show all posts

Tuesday, December 6, 2011

the goose loves december 6th

Hello, my long-lost blog lovers!

I promise I haven't forgotten about you. I've just been bogged down with a couple thousand other projects that had to take priority. Not that you're not special to me. It's just complicated.

But I'm finally back, with plenty to catch you up on! And, this post is extra special. It's EXACTLY on time!

To those of you Santa-lovers, you might not be aware that December 6th is the Feast of St. Nicholas (remember, the first santa?). Many countries have special celebrations centered around today, rather than Dec. 25th. Kids sometimes put out their shoes, for "St. Nick" to fill with candy.

In Slovenia, where my mom's family is from, they celebrate this day, but call it "Svete Miklaus" (which translates to St. Nick). I hope all my Slovenian readers can forgive my spelling (or correct me in the comments below!). When my "Scottish" (he's really more Irish) husband heard of the translation, he had trouble pronouncing it, so he made it into a Scottish holiday - McCloush Day.

When I was a kid, we'd put bowls out on the table and St. Nick would fill them with cookies and some other goodies. We would also write letters to him and place them on the windowsills at night. This was my Santa growing up!

This year, Billy and I wanted to celebrate the holiday but we decided to skip the delicious-yet-fattening bowl of cookies and candy in exchange for a dinner out together. Since we've been saving our pennies, we've severely cut back on eating out, so going out for Chinese was a treat!

But we also had to have a little something sweet. I had a homemade pie crust in the fridge from Thanksgiving, when I had made two crusts but only one pie, and I had a sweet potato (right) and a yam (left) also leftover from the holiday, so I decided to go with Sweet Potato Pie.
 I searched several recipes online and on Pinterest, and I decided to use the yam, as one recipe suggested. Yams usually are more orange, and I love the texture and flavor. We'll use the sweet potato for something else this week. I started by boiling it (after cutting it into three parts to fit in my pot).
 Once they are boiled (and soft when poked), their skins slip off really easily. I skinned them, let them cool, and then popped the chunks into the Cuisinart, where I gave em a whir to mash and make smooth.

I then added the eggs (3), brown sugar instead of white (1/2 cup), vanilla (2 tsp), lemon juice (1 tbsp), milk instead of half and half (1/2 cup), and an assortment of fall spices (cinnamon, cloves, nutmeg, allspice, ginger).
 I rolled out my pie dough, which I had made from the Cooks Illustrated recipe. Turned out great.
 Poured my pumpkin-like filling into the crust, smoothed out the top, and popped it in the toaster oven at 350 degrees for about 45 minutes.
 While it baked away, I helped Billy string the lights on the tree and hang some ornaments! We're still locating some ornaments so photos will come later.
 And then we're done! Deliciously-golden and not gooey inside (ignore the knife test-mark. I was too lazy to find the toothpicks).

Billy and I each enjoyed a slice this morning, to officially celebrate Svete Miklaus. A Happy St. Nick's Day to the rest of you - hope your day is wonderful!

Saturday, September 3, 2011

the goose loves blackberry pie

Last weekend was UP's Orientation. Can you believe I was moving into the dorms 7 Augusts ago? (Six full years since we moved in, right Jackie? Haha). Wow.

Anyway, Billy's still there, now on the operations side of everything, and worked really long hours from Thursday through Sunday while I hung out with the dog. On Saturday morning, after taking the dog to the dogpark, I got coffee and walked around the St. John's Farmer's Market, where I saw these lovely things:
 Yes ma'am, blackberries. Deliciously LARGE blackberries! And I knew I had to take them home that minute and make Billy a giant blackberry pie out of the berries. Because he loves pies, you see, and so far in our year plus of marriage, I've only made him two. A (most delicious) apple pie and an even more delicious (because it has chocolate) Boston Cream Pie. But two pies for almost 14 years of marriage isn't quite enough.
 So I handed $11 dollars over at the Farmer's Market and took my half crate of berries home, where I sorted and rinsed them. You can see Bentley carefully watching me. The lucky dog got the they're-so-soft-they're-practically-molding berries. Talk about a purple mess. :)
 And I found a recipe online, complete with illustrations.
 Blackberry Pie:

Ingredients:
Pastry for a 9-inch double-crust pie
6 cups fresh blackberries
3/4 cup granulated sugar
1/4 cup firmly packed light brown sugar
5 tablespoons unbleached all-purpose flour
2 teaspoons finely grated lemon zest
pinch of salt
2 tablespoons butter, cut into small pieces
1 large egg, beaten
1 tablespoon water
1 tablespoon granulated sugar

 
Steps:
1. If you are making your own pastry, prepare the pie dough according to recipe directions and refrigerate.
2. Rinse and sort the blackberries. Drain thoroughly on paper towels.
3. Combine the granulated sugar, brown sugar, flour, lemon zest, and salt in a large bowl. Add the blackberries. Toss lightly to combine. Set aside.
4. Preheat the oven to 425°F with a rack in the lower third of the oven.
5. To prepare the pie shell, lightly flour a work surface. Roll out the larger portion of the chilled dough to a thickness of about 1/8 inch. Fit into a 9-inch pie pan, leaving a 1-inch overhang. (Fit purchased pastry into the pie pan.) Spoon the blackberry mixture into the pastry. Dot with butter.
Roll out the remaining dough into a circle about 1 inch larger than the pie pan. Moisten the edge of the bottom crust with water. Fold the dough circle in half, lift off the work surface, place the pastry across the center of the filled pie, and unfold. Trim the edge ½ inch larger than the pie pan and tuck the overhang under the edge of the bottom crust. Crimp the edges with a fork or make a fluted pattern with your fingers. Make several decorative slits in the top crust to allow steam to escape.
6. Make an egg wash by combining the egg with the water. Brush the top of the pie with the egg wash. Sprinkle the 1 tablespoon sugar over the top. Place the pie on a baking sheet to catch any juices that overflow.
7. Bake in the lower third of the oven for 15 minutes. Reduce the oven temperature to 350°F and bake for 40 to 45 minutes, until the crust is golden brown.
8. Cool the pie on a wire rack. Serve warm or at room temperature.

Mmmm, pie. And it was delicious. Although I'll admit the consistency was a little soupy. The pie itself was great, but oodles of juice poured from the sides when it was cut. No problem, really, because the juice is good on vanilla bean ice cream or for drinking up straight, but if you're a less-juicy person, you might add more flour or tapioca or something.
Billy was quite happy with his pie. He might even be willing to work long weekends more often, if it meant more pies. Lucky for him, his birthday is coming up, so he might get another pie for just getting older. :)

Tuesday, May 24, 2011

the goose loves boston cream pie

So I'll start by apologizing for leaving all my "millions" of followers hanging for so many weeks... between being busy at work and then leaving for the East Coast for 10 days, I haven't been getting much blogging done. Not that there's nothing to blog about - I just haven't spent time uploading and writing, etc.

To make up for my absence, my first post back will be the longest and most-photo-intensive post EVER. Or at least so far. And it will be delicious, too!!

A few weeks ago was the UP Commencement. Although my good friend Rachel's fiance Sean was valedictorian, I didn't personally attend the event. But Billy, of course, worked throughout the weekend - early mornings, late nights, etc. Which left me at home, generally car-less, with plenty of time! So I decided to finally make Billy's favorite dessert, Boston Cream Pie.

I had found a recipe in the magazine Cooks Illustrated a few months ago, and decided it would probably be the best. They even used "wicked" in the title, and the recipe/article was by a native Bostonian. Can't go wrong with that.
So I put the dog in his crate and left home, caught the streetcar to Safeway, picked up the ingredients I needed, along with a few other things (like coffee!) and rode back home.


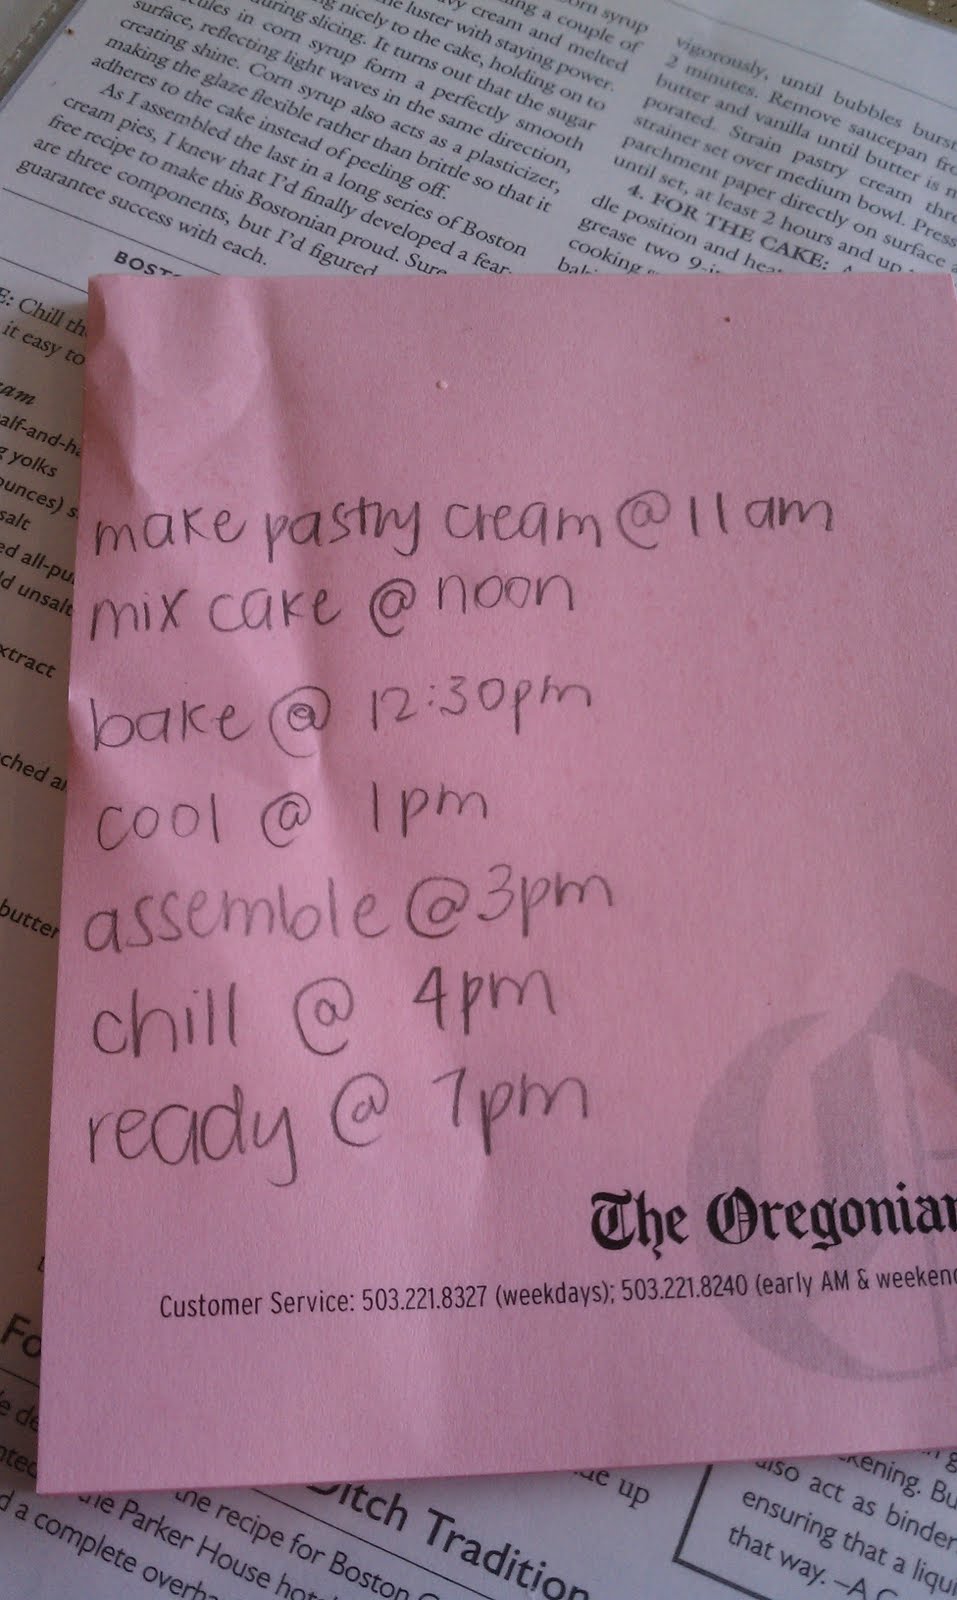
Making the cake/pie wasn't difficult as much as it was time consuming. The various pieces need to sit or chill for several hours in between steps, so I made a timeline of events to ensure that I could finish the cake in time for Billy's arrival home.


So the first step is making the cream that goes inbetween your layers of cake. I heated the milk:


And whipped 6 egg yolks. (I set aside the whites, cooked them, and gave them to Bentley as a treat throughout the day.)


Once the milk was almost simmering, I poured a little of it into the egg mixture to temper it (if you add the eggs into the hot milk right away, the eggs will cook). Then the whole egg mixture goes into the pan of milk to be whisked vigorously!


After adding some vanilla and other stuff, you keep whisking and it eventually gets thick and creamy, like below.


This mixture then gets covered with wax or parchment paper and sits in the fridge for a couple of hours to set.


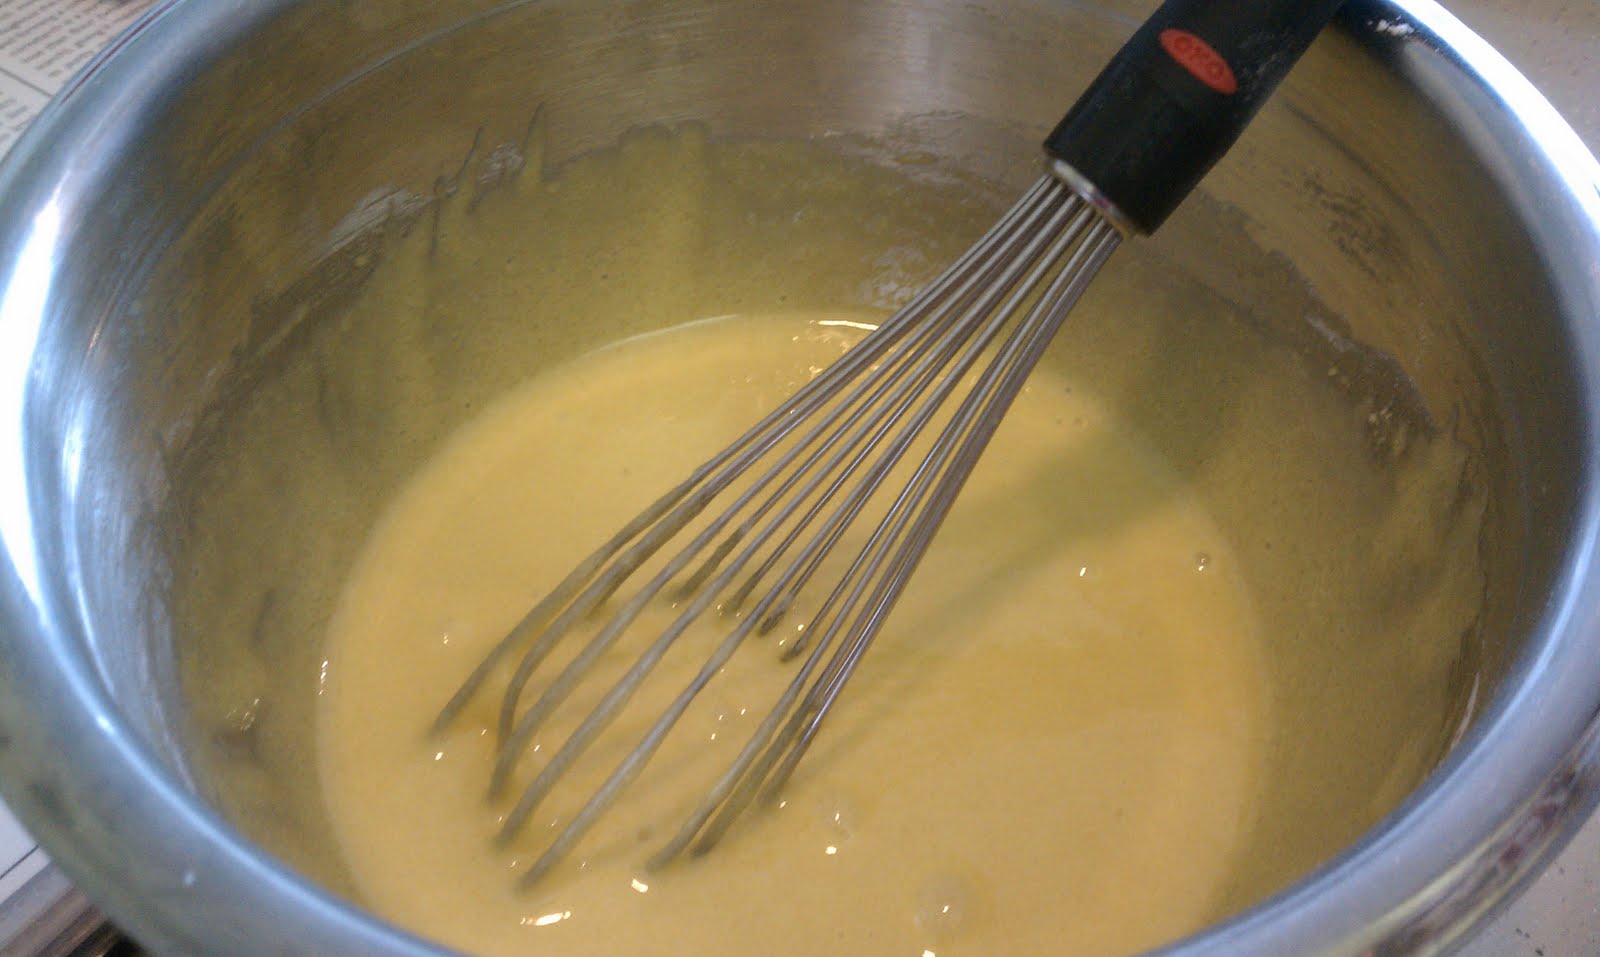
The second element is the cake! While mixing the dry ingredients, you melt butter in milk and heat together in a pan.


This is added to your dry ingredients and mixed in the good ole Kitchenaid.


I greased two 9" cake pans, and flour-ed them. If I had parchment paper, I would have lined the pans with that too, but I had none. This method didn't work too poorly anyway.


The batter goes in the pans, and the pans go in the oven....


And they come out beautifully golden brown about 25 minutes later!


So at this point, you let the cakes cool for at least an hour, then pull out your already-set cream, and begin the assembly!


After spreading a thick layer of cream on the bottom cake, line up the other cake on top. The cream was plenty thick and worked like glue or frosting, so I didn't need to use any toothpicks to hold together.


And here's the side view, albeit a little blurry.


Now, the last step - my favorite part! The chocolate glaze!! I started with 4 oz of a good dark chocolate.


The recipe said to chop finely, so I summoned the help of my trusty cuisinart to do the job. I broke the chocolate bar into chunks, threw them in the mini food chop, and a few minutes later...


Voila! Finely chopped chocolate.


While the chocolate is chopping, I heated heavy cream and corn syrup in my stainless steel frypan.


Once the liquid mixture was nice and warm, I removed it from heat and whisked in the chocolate until it smoothly melted.


Then the chocolate glaze sits in the pan for about 10 minutes to thicken. Mmmmm chocolate.


And the final step.... "decoratively drape" the chocolate glaze over the cake, pouring it in the center and using a spatula to scrape to the edges. Here's my attempt below:


It didn't end up looking too awful, even though my drips could have been more decorative and less gloppy... The problem was that the glaze would drip over the edge, and instead of sliding down the side of the cake, it would slide down the top layer of cake and then drip to the bottom of the plate, primarily skipping the bottom layer. I guess the top layer was slightly larger.


But the taste was insane. After chilling for about 3 hours, it was ready to go! Billy came home from a long weekend of work and was surprised and elated to find a beautiful Boston Cream Pie waiting for him.


We also invited Jackie & Carolyn over to help out with the eating... as good as it was, Billy and I can't get through a whole cake/pie by ourselves!


One thing I noticed - when eating it on the first day, the cake actually seemed to be a little dry... at least drier than I would have expected for a first-class recipe. However, having another serving the next day, the cake was much more soft and moist. So maybe it just needs some time to settle in and gel together. Also, since we left for NY with two big pieces of cake left, we froze it for 10 days. We finished it when we were back, and hardly noticed any loss of flavor or texture!


Overall, I'd recommend it. If you've got a day to make it, it would be well worth your day!

If you want the recipe, leave me a comment or email me... I don't want to break the rules about posting the recipe online, since its a subscription magazine, etc...