To make up for my absence, my first post back will be the longest and most-photo-intensive post EVER. Or at least so far. And it will be delicious, too!!
A few weeks ago was the UP Commencement. Although my good friend Rachel's fiance Sean was valedictorian, I didn't personally attend the event. But Billy, of course, worked throughout the weekend - early mornings, late nights, etc. Which left me at home, generally car-less, with plenty of time! So I decided to finally make Billy's favorite dessert, Boston Cream Pie.
I had found a recipe in the magazine Cooks Illustrated a few months ago, and decided it would probably be the best. They even used "wicked" in the title, and the recipe/article was by a native Bostonian. Can't go wrong with that.
 So I put the dog in his crate and left home, caught the streetcar to Safeway, picked up the ingredients I needed, along with a few other things (like coffee!) and rode back home.
 Making the cake/pie wasn't difficult as much as it was time consuming. The various pieces need to sit or chill for several hours in between steps, so I made a timeline of events to ensure that I could finish the cake in time for Billy's arrival home.
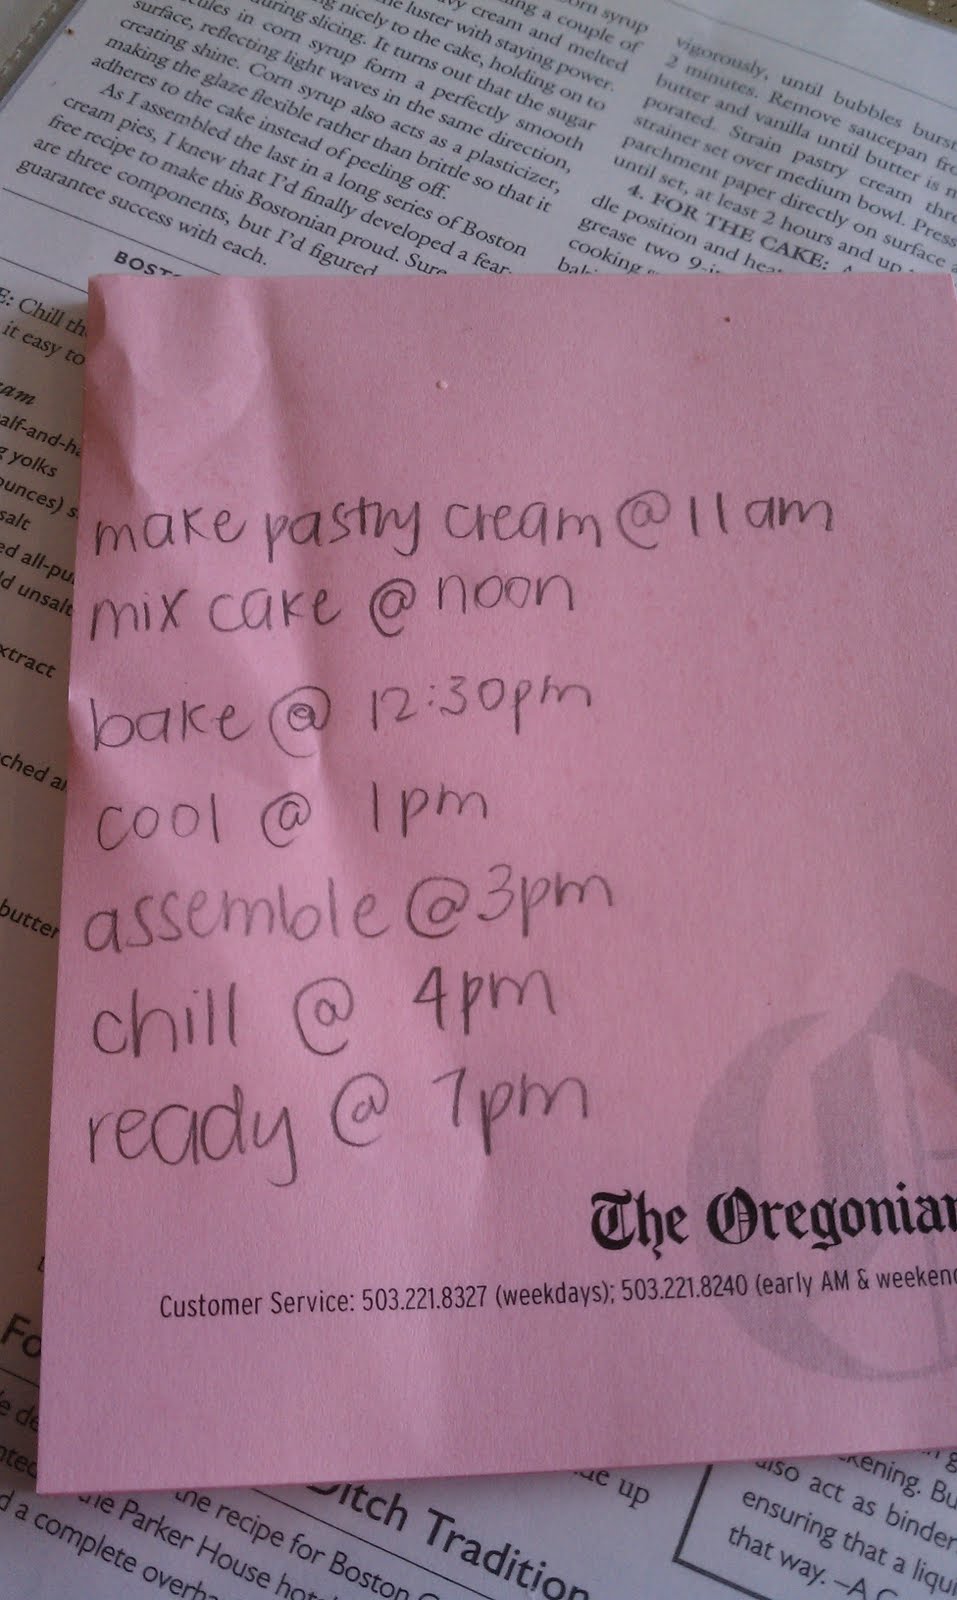 So the first step is making the cream that goes inbetween your layers of cake. I heated the milk:
 And whipped 6 egg yolks. (I set aside the whites, cooked them, and gave them to Bentley as a treat throughout the day.)
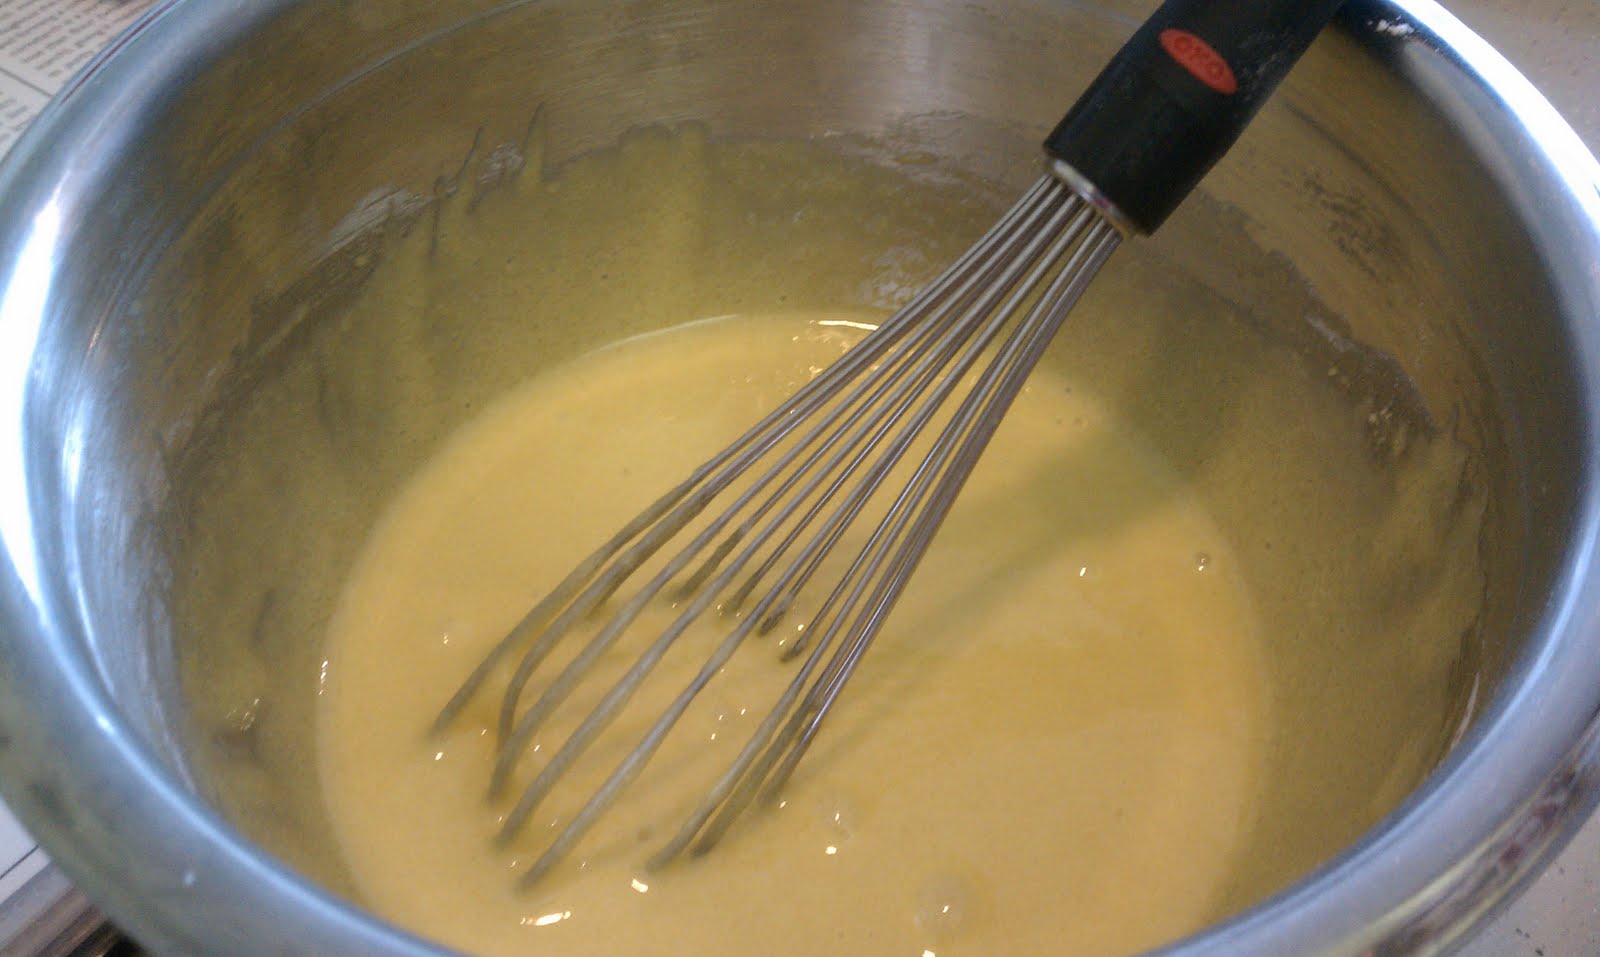 Once the milk was almost simmering, I poured a little of it into the egg mixture to temper it (if you add the eggs into the hot milk right away, the eggs will cook). Then the whole egg mixture goes into the pan of milk to be whisked vigorously!
 After adding some vanilla and other stuff, you keep whisking and it eventually gets thick and creamy, like below.
 This mixture then gets covered with wax or parchment paper and sits in the fridge for a couple of hours to set.
The second element is the cake! While mixing the dry ingredients, you melt butter in milk and heat together in a pan.
 This is added to your dry ingredients and mixed in the good ole Kitchenaid.
 I greased two 9" cake pans, and flour-ed them. If I had parchment paper, I would have lined the pans with that too, but I had none. This method didn't work too poorly anyway.
 The batter goes in the pans, and the pans go in the oven....
 And they come out beautifully golden brown about 25 minutes later!

So at this point, you let the cakes cool for at least an hour, then pull out your already-set cream, and begin the assembly!
After spreading a thick layer of cream on the bottom cake, line up the other cake on top. The cream was plenty thick and worked like glue or frosting, so I didn't need to use any toothpicks to hold together.

And here's the side view, albeit a little blurry.

Now, the last step - my favorite part! The chocolate glaze!! I started with 4 oz of a good dark chocolate.
 The recipe said to chop finely, so I summoned the help of my trusty cuisinart to do the job. I broke the chocolate bar into chunks, threw them in the mini food chop, and a few minutes later...
Voila! Finely chopped chocolate.

While the chocolate is chopping, I heated heavy cream and corn syrup in my stainless steel frypan.
Once the liquid mixture was nice and warm, I removed it from heat and whisked in the chocolate until it smoothly melted.
 Then the chocolate glaze sits in the pan for about 10 minutes to thicken. Mmmmm chocolate.
 And the final step.... "decoratively drape" the chocolate glaze over the cake, pouring it in the center and using a spatula to scrape to the edges. Here's my attempt below:
 It didn't end up looking too awful, even though my drips could have been more decorative and less gloppy... The problem was that the glaze would drip over the edge, and instead of sliding down the side of the cake, it would slide down the top layer of cake and then drip to the bottom of the plate, primarily skipping the bottom layer. I guess the top layer was slightly larger.
 But the taste was insane. After chilling for about 3 hours, it was ready to go! Billy came home from a long weekend of work and was surprised and elated to find a beautiful Boston Cream Pie waiting for him.
 We also invited Jackie & Carolyn over to help out with the eating... as good as it was, Billy and I can't get through a whole cake/pie by ourselves!
 One thing I noticed - when eating it on the first day, the cake actually seemed to be a little dry... at least drier than I would have expected for a first-class recipe. However, having another serving the next day, the cake was much more soft and moist. So maybe it just needs some time to settle in and gel together. Also, since we left for NY with two big pieces of cake left, we froze it for 10 days. We finished it when we were back, and hardly noticed any loss of flavor or texture!
Overall, I'd recommend it. If you've got a day to make it, it would be well worth your day!
If you want the recipe, leave me a comment or email me... I don't want to break the rules about posting the recipe online, since its a subscription magazine, etc...